Saturday, September 17, 2016
Autumn cooking - aka recreating family recipe
I always liked September. There is something in the air that brings back memories but also makes me want to prepare for a new beginning. I guess it's the beginning of the school year vibe, the trips to the stationary shops, buying new notebooks and pens and the absolute certainty that this year will be somehow different and better than the last. But it's also the smell of fallen leaves, first autumn rains, shorter days that make you want to cozy up with a cup of hot chocolate and the variety of fruits, nuts, and wild mushrooms...
Apparently, everyone gets sentimental this time of year because during one farmer's market trip my mom started reminiscing about mushroom appetizer her grandmother used to prepare.
Aside from the chanterelle bread spread, i didn't have much to go by, but after some experimentation, I got it just right! Or so I'm told...
Monday, September 12, 2016
wildflower kindle blanket
"Do you suppose she is a Wildflower? -said the Daisy"
I've been caught up in a true water armageddon. Our beautiful newly renovated flat we poured our hearts (and a big pile of money) in has been flooded in every possible way. I'm pretty sure there is a water witches' curse on it! So instead of enjoying last days of summer, I'm running around supervising (and trying not to look too closely) the total eradication of our carefully selected floors and parts of the walls.
Luckily my DIY-s are providing some destruction, saving me from a total heartbreak.
I've been putting this project off for months, but I'm finally done - brand new and 100% handmade kindle cover!
It's one of these projects you can complete in one afternoon or stretch it for days - depending how practical you are. I'm not practical at all, therefore I spent 2 hours on actual cover and about 2 days on embroidery and design. But I loved every second of it!
But to the point... I used 2 sheets of soft felt (approx 28x19cm) plus one sheet for the screen frame (9x12.3cm - 14x19cm).
If I was making it again, I would probably use stiffer felt, at least for the frame, to make it less flimsy. As it is, I stitched cotton ribbon around the inner edge to stop it from losing its shape.
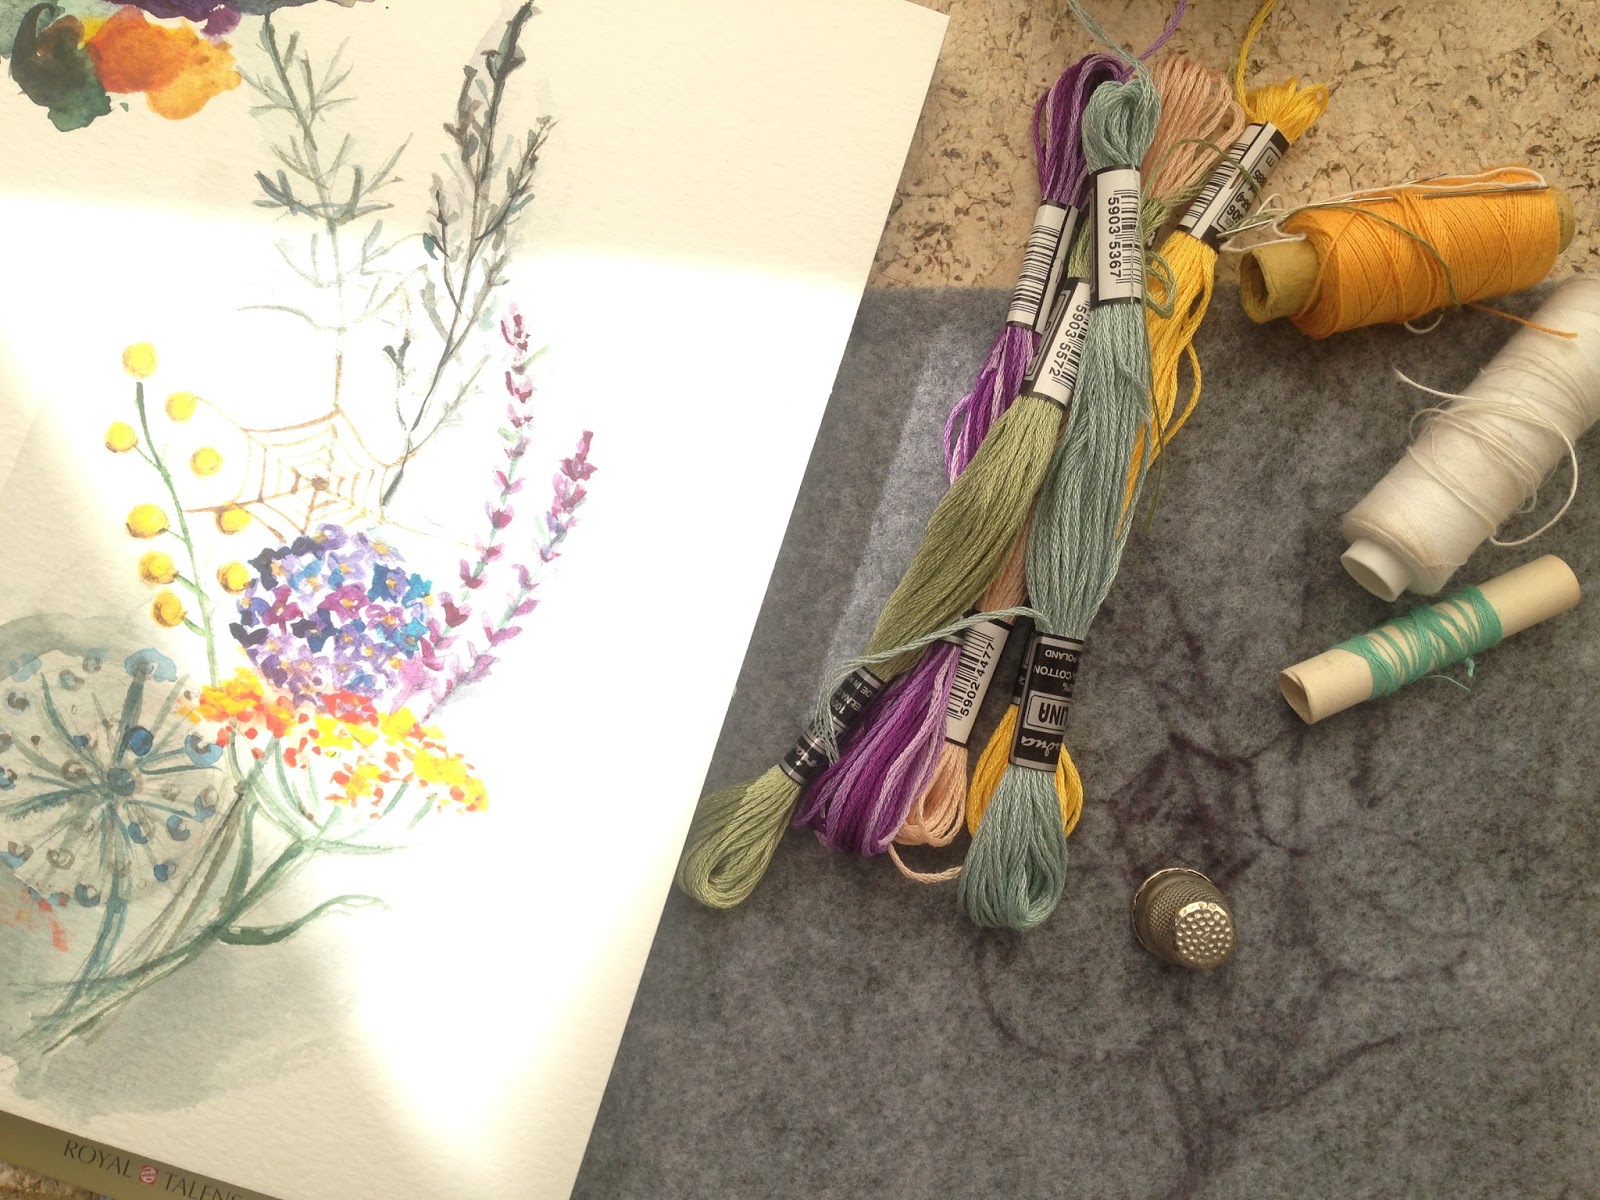
The embroidery part was the most fun. I even did a quick sketch of what I want it to look like. A word of warning, though : felt tends to stretch if you pull it too much, so embroidery hoop is out of the question. Also felt on felt embellishments look really good and don't take quite as much time as what I did.
The last part was a blanket stitch all over. I mixed gray wool with a regular gray thread to have both the looks and durability.
My case has a centre opening for the kindle and a small hole for the charger. Speaking from experience- mark your openings well. I didn't, and stitched right through it.
Once I had all the edges blanket-stitched, I just added two small metal clasps, which is not at all necessary. I guess, I just wasn't quite ready to call my project finished. You know what they say about enjoying the journey quite as much as the destination...
And here it is, my wildflower kindle blanket!
Friday, August 26, 2016
holidaying in wonderland
I spent last two weeks in a fairyland full of eccentric characters and truly magical places. The weather was a little more prosaic, so I came home with a cold as a memento of beautiful holidays. There was a huge Pegasus prancing among the stormy clouds.
Huge weird mushrooms were popping here and there. I swear, I almost saw a caterpillar smoking a pipe on one of them...
Stone gate straight from the opening of Prince Caspian (Chronicles of Narnia). Do you remember castle ruins and apple trees in the long forgotten orchard?
And then there was a palace. Maybe not as old as the one in Narnia, but palace nonetheless!
Gate opening to the sky...
...and the magic door behind which the art happened.
Oh, and did I mention over a dozen quirky artists?
Monday, August 15, 2016
Market day in Cracow
Farmers markets are becoming a new place to be, there is no question about that. However, it took several years in India for me to see the attraction of Cracow's old market.
And I'm not alone! Both tourists and locals are flooding in and the market is keeping up well with the new fashion. Next to the seasonal fruits and veggies, new stalls opened up. You can find everything from fresh antipasti, Turkish soaps, spices from every corner of the world to organically grown grains and cold-pressed coconut oils and doggy treats.
On top of that, once a month you can enjoy kind of a market picnic with specially selected food, drinks, and some handmade items.
Living in Goa, I can't complain about the availability of fresh produce, but I did miss all the berries, homemade cheeses, and wild mushrooms.
I'm still planning a photographic visit, but till now I stayed true to the purpose of the place and only managed to click few pics, ladened with bags and bags of fruits and jars (hello preserve making season!).
I also discovered rather funny addition - a milk vending machine, where you can get a bottle of farm fresh milk anytime!
Monday, July 25, 2016
Hundertwasser shoes makeover
This is a short story about the shoes. It started with the wedding...
Way back, in the beginning of march, we went to one of those epic Indian weddings - several days, functions, venues and, of course, outfits. It was a bit of a challenge, seeing as most of our "wedding clothes" were still in the storage, but we did pull it off, somehow! I even had my ah-mazing red dress moment, which I took no pictures of - no idea why.
Anyway, we had it under control, with one exception: I had no shoes for one of the dresses. With no time for proper shoe shopping, i just ran to the nearest H&M and bought one pair of their trusty ballet flats in a lovely salmon color. Only, after the night of dancing on the lawn, they were everything but salmon. I cleaned them up the best I could, but they still had weird black stains all over.
Throwing our perfectly good shoes after wearing them once is, to me, all sorts of wrong, even if they did cost close to nothing. I packed them up, brought them home and they were waiting for better days ever since.
And it seems like their time has come!
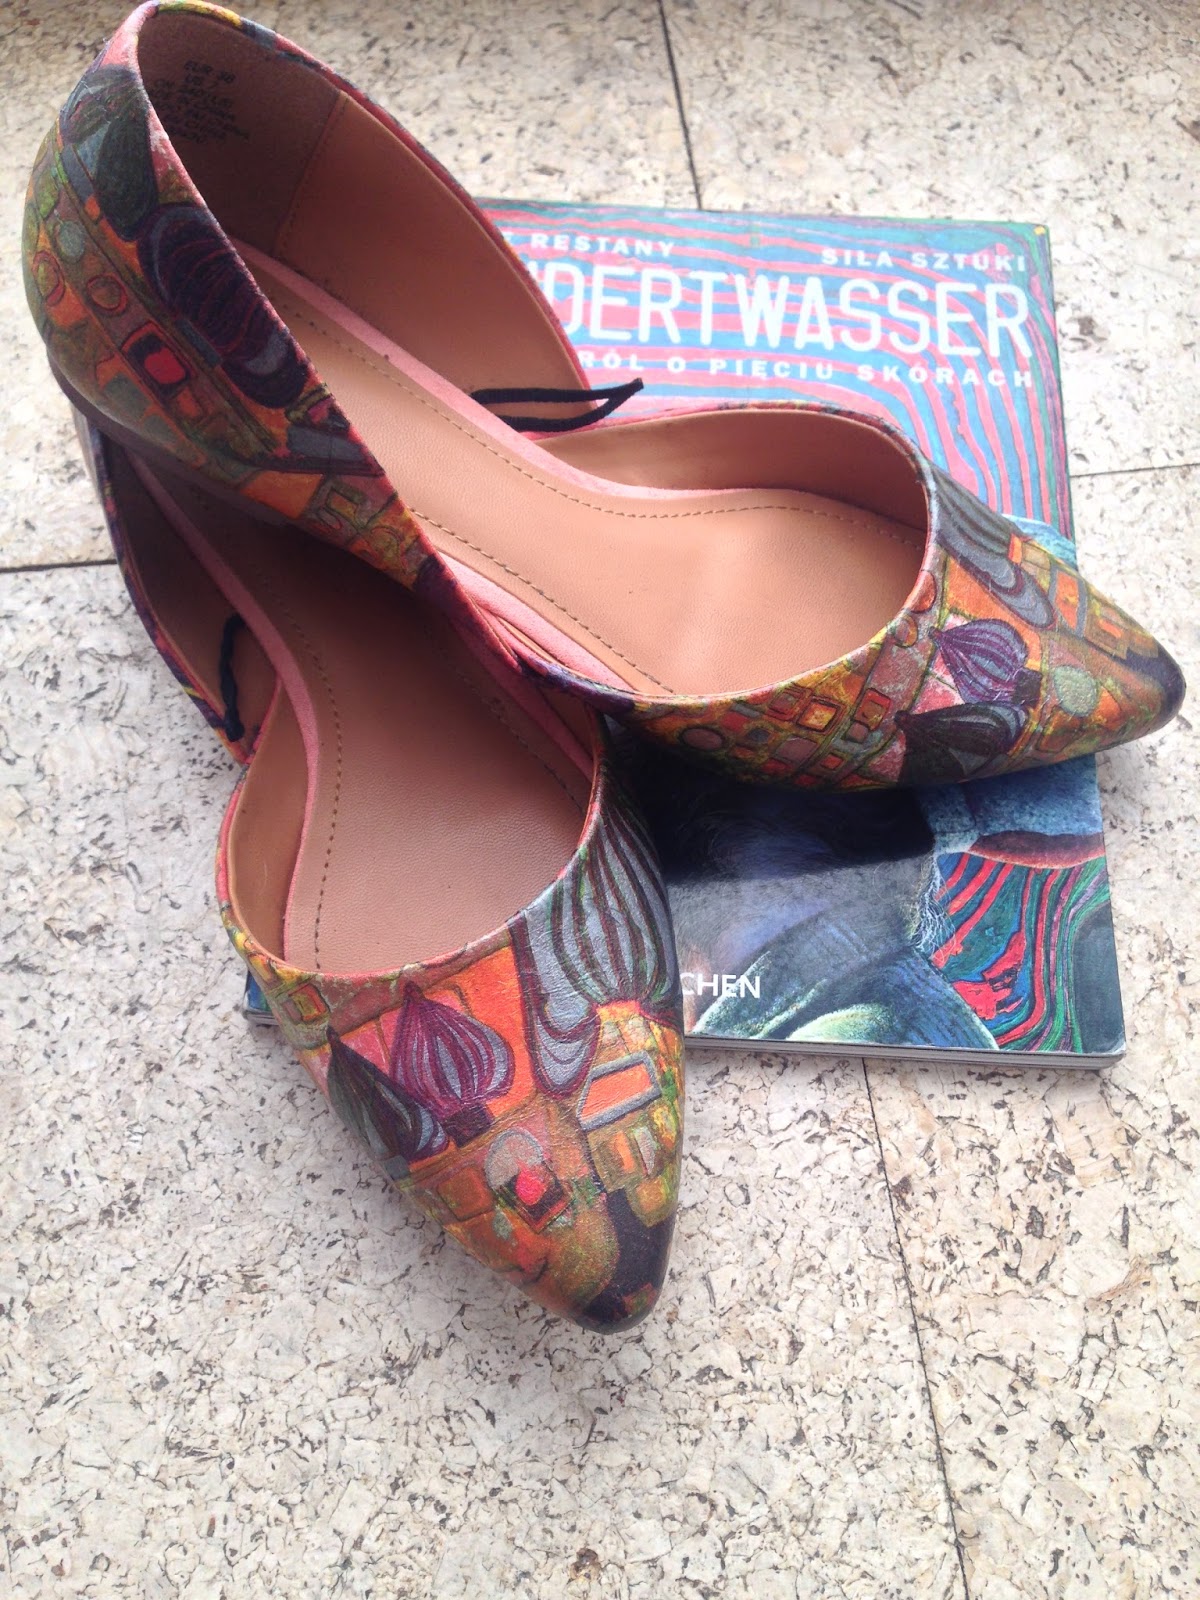
I think I mentioned my fascination with decoupage. Well... I always wanted to do some shoe makeover but never had a proper victim to run my experiments on. And there they were - two lovely salmon victims, ready to be remade! Even more, I just found a tissue with Hundertwasser print - the only one in the shop- almost screaming : use me! use me!
I always thought that Hundertwasser's works were so perfectly decorative, almost like patterns, not paintings and so much fun! Now, who wouldn't want shoes like that?!
But to the point... All it took was one printed tissue and some decoupage glue/seal. In all honesty, I could probably do a better job if I wasn't in such a hurry. There are some wrinkles here and there but I doubt anyone will examine my shoes with a magnifier so it's good enough for me. Actually, I kind of love them!
As far as I know, there are many ways to decoupage shoes, can't really say which one is best, since it was my first try. I know that there are a lot of how to's all over the internet, but in the end, it's rather intuitive, isn't it?
I started by cutting the tissue roughly to the shape I needed. I would recommend leaving a good margin around in case of mistakes or adjustments.
I worked with the front and back of the shoes separately cause smaller pieces of tissue are easier to manage. To keep the tissue from moving in an unexpected way, I glued the center front (and center back) first and worked towards the sides. It makes it easier to smooth out the wrinkles and avoid trapping in the air - if you work slowly and patiently, not like me!
I glued my tissue in intervals, allowing every section to dry before starting another. It is also important to allow every layer to dry before applying the next.
the thing I enjoyed the most: you don't have to be very exact about the edges. You can tear the off and let its merge with the shoe "organically" or file the excess of tissue once it's dry.
I'm still waiting for the perfect weather to test run them outside the house. I didn't get the waterproof seal and it's been rather rainy lately. I wouldn't want all my enthusiastic work to just wash away...
Sunday, July 10, 2016
fail-safe banana bread (guaranteed!)
Some time ago I was raving about chocolate banana bread. Well... Somehow, from the chocolate one I worked my way down to the plain old banana bread which I now love passionately! It's the easiest loaf cake in the world, and, what's more, it's absolutely impossible to screw up!
And here is the proof: I baked it changing proportions nearly every time according to what I had (or didn't have) in the fridge - it baked perfectly. Once or twice we had power break (aka the blackout - very common in India) mid-baking - it turned out perfectly. I made a cake mix out of it - it turned out perfectly (or so my husband who never baked a cake before tells me). I overloaded it with nuts and chocolate chips - it turned out perfectly.
It's moist, fluffy, cakey but also full of bananas so you can pretend it's healthy; you can make it with a fork and it takes about 5 minutes to whip up (plus the baking of course).
So here it is, the magic recipe!
4 big bananas - mashed with fork (best if they are overripe but not necessary)
50-100 g butter
1/4-1/2 cup sugar (i say the less the better, bananas will make it sweet - trust me)
1 egg
vanilla extract
1 tsp baking soda
pinch or two of salt
1,5 cup flour
nuts, chocolate chips, cranberries or whatever your heart desires!
Warm the oven to 180 degrees. Melt the butter. Mix in sugar (you can use a fork for the entire process) and add to the bananas. Mix in the egg and vanilla extract. If you are feeling ambitious you can combine dry ingredients before adding them to banana mixture, if not - just dump everything in and mix until combined. Lastly, mix in the nuts and raising if you are adding them. Pop in the hot oven for about 40-55 minutes.
Saturday, July 2, 2016
Lavender pouches
It's been a while since my last summer in Poland and I'm delighted with all the familiar places, flavours, fragrances... It's so comforting and oddly exciting to revisit summer-type activities! But, at the same time, I'm really happy with the changes.
For example, lavender became an extremely common flower. You can find everywhere: gardens, parks, sidewalks, balconies and farmers markets. I even found a couple of lavender plantations and they are definitely going on my "to visit" list! I probably haven't mentioned it enough, but I adore lavender! The look, the smell, and versatility.
I always like to tuck some lavender pouches in between my clothes or bedsheets - apart from the fragrance, it eases the headaches, relaxes, wards of the moths and helps with insomnia. I usually pick some up, when I see them in the shop or market, but isn't it just great to make one yourself? Plus, more often than not, I have to make do with lavender essential oil or even lavender spray.
Well, I wasn't about to let the opportunity pass, especially that it's like a 10 minutes DIY, 5 - if you already have a pouch!
And let me tell you, no matter how great lavender sachets you have, it's nothing compared to the smell of freshly dried flowers!
Subscribe to:
Posts (Atom)