Showing posts with label crafts. Show all posts

Saturday, October 8, 2016

Baby mobile


Having a baby undoubtfully means that your free time shrinks to nothing, but, fortunately, it also means some guilt free crafting time. After all, you can't feel bad about making sth for your little one, can you?


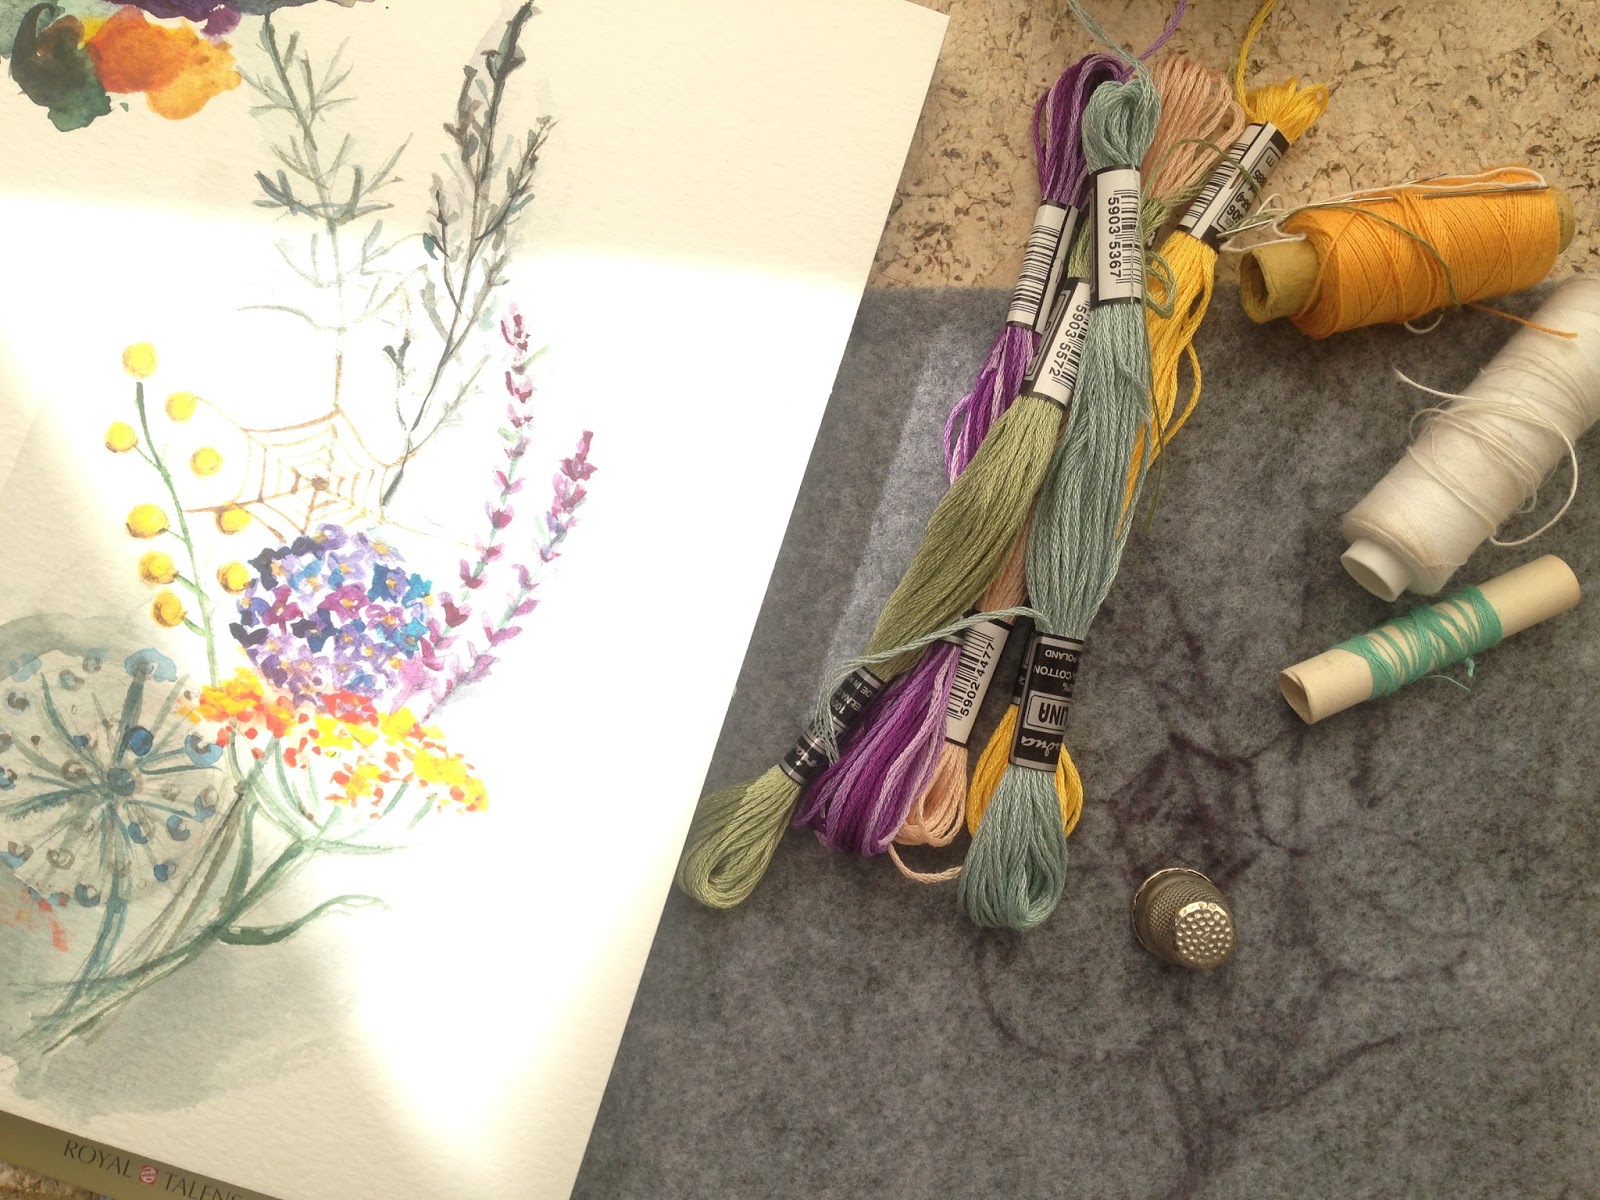
Using that newly discovered excuse, I spent several days hunchbacked over thread and needle. First of all, it's so great to be able to make all those cute not-so-adult  decorations without seeming overly eccentric! And second, felt is my new discovered love! It's so easy to work with, comes in fantastic colors and has such a nice texture.


But to the point... All the elements are self-drafted. I did search for some patterns online, but in the end, int's not rocket science so I decided to just do it myself. Hot-air balloons turned out perfect, but the elephant, though very cute, is a bit too porky.


I'm thinking about modifying my pattern and saving it in PDF format, but I'm not very enthusiastic about computers, so I'm just leaving it for later.


Couple of practical notes:
My mobile has two hot-air balloons, two stars, three clouds, the moon and the elephant.  Hot air balloons are made from the same pattern to they balance themselves, clouds are different in size, so I had to add little stars on one side so the mobile wouldn't flip to one side.


Because felt doesn't fray, you don't have to stitch in on the wrong side, unless, like me, you want to go for a cleaner finish.


I used silicon cushion filling  to stuff all the elements and soutache braid for decoration so there are not beads or buttons that could be swallowed.
If you are drafting your own pattern, make sure that your clouds are a little "taller" on paper than you want them to be.


When choosing your felt, go for the soft, easy to shape one, but not the thinnest one - otherwise, the thread may tear through it at the seams.
Other than that, just have fun!


Saturday, October 1, 2016

En plein air


For some reason, this summer was full of unexpected turns, the kind I could only summarize as A Series of Unfortunate Events.

It makes me remember this year's holidays even more fondly. Being a creative soul, it was everything you could hope for: art, work, beautiful setting, eccentric characters and a large dose of quirk!


Growing up surrounded by artists of all sorts, it's only hitting me now, how unusual plein air invitationals are. When I replay it in my head, it's almost like a trailer to a magical movie.


First of all, the only way to get there is by a night train. We reached Torun - the city famous for Nicolaus Copernicus and gingerbreads at the break of dawn. Now, if gingerbread city isn't straight up from a fairytale, I don't know what is.


But that wasn't the end. We had to travel about 30 minutes more to reach a hill - the only one around, where stands a lonely palace surrounded by orchards, ponds and forest with long forgotten cemetery.


Slowly the whole crew gathered: the botanist in harry potter glasses and straw hat, the musician who built a considerable amount of wind chimes during our stay and the whole bunch of artists.


For the next two weeks, you could stumble upon them in all kinds of places. whenever the sun came out, we took to the easels, and during the rain, everyone was ensconced in one or the other corner of art studios.


There is something incredibly inspiring in such atmosphere. Even for professional artists, it's a rare luxury to be able to focus solely on their work - perfect space, all the materials, no distractions and creative spirit almost tangible in the air!


Apart from it being a great opportunity to get you creative juices flowing, I had a chance to meet a whole lot of real personalities. Everyone worked in different technique and style, had a different approach to their work which made our time together all the more interesting.


Monday, September 12, 2016

wildflower kindle blanket


"Do you suppose she is a Wildflower? -said the Daisy"


I've been caught up in a true water armageddon. Our beautiful newly renovated flat we poured our hearts (and a big pile of money) in has been flooded in every possible way. I'm pretty sure there is a water witches' curse on it! So instead of enjoying last days of summer, I'm running around supervising (and trying not to look too closely) the total eradication of our carefully selected floors and parts of the walls.

Luckily my DIY-s are providing some destruction, saving me from a total heartbreak.
I've been putting this project off for months, but I'm finally done - brand new and 100% handmade kindle cover!


It's one of these projects you can complete in one afternoon or stretch it for days - depending how practical you are. I'm not practical at all, therefore I spent 2 hours on actual cover and about 2 days on embroidery and design. But I loved every second of it!


But to the point... I used 2 sheets of soft felt (approx 28x19cm) plus one sheet for the screen frame (9x12.3cm - 14x19cm).


If I was making it again, I would probably use stiffer felt, at least for the frame, to make it less flimsy. As it is, I stitched cotton ribbon around the inner edge to stop it from losing its shape.


The embroidery part was the most fun. I even did a quick sketch of what I want it to look like. A word of warning, though : felt tends to stretch if you pull it too much, so embroidery hoop is out of the question. Also felt on felt embellishments look really good and don't take quite as much time as what I did.


Anyway, once that was over, I glued both of the covers together with fabric glue so they hold together well.

The last part was a blanket stitch all over. I mixed gray wool with a regular gray thread to have both the looks and durability.


My case has a centre opening for the kindle and a small hole for the charger. Speaking from experience- mark your openings well. I didn't, and stitched right through it.


Once I had all the edges blanket-stitched, I just added two small metal clasps, which is not at all necessary. I guess, I just wasn't quite ready to call my project finished. You know what they say about enjoying the journey quite as much as the destination...
And here it is, my wildflower kindle blanket!


Monday, July 25, 2016

Hundertwasser shoes makeover


This is a short story about the shoes. It started with the wedding...

Way back, in the beginning of march, we went to one of those epic Indian weddings - several days, functions, venues and, of course, outfits. It was a bit of a challenge, seeing as most of our "wedding clothes" were still in the storage, but we did pull it off, somehow! I even had my ah-mazing red dress moment, which I took no pictures of - no idea why.


Anyway, we had it under control, with one exception: I had no shoes for one of the dresses. With no time for proper shoe shopping, i just ran to the nearest H&M and bought one pair of their trusty ballet flats in a lovely salmon color. Only, after the night of dancing on the lawn, they were everything but salmon. I cleaned them up the best I could, but they still had weird black stains all over.


Throwing our perfectly good shoes after wearing them once is, to me, all sorts of wrong, even if they did cost close to nothing. I packed them up, brought them home and they were waiting for better days ever since.
And it seems like their time has come!


I think I mentioned my fascination with decoupage. Well... I always wanted to do some shoe makeover but never had a proper victim to run my experiments on. And there they were - two lovely salmon victims, ready to be remade! Even more, I just found a tissue with Hundertwasser print - the only one in the shop-  almost screaming : use me! use me!

I always thought that Hundertwasser's works were so perfectly decorative, almost like patterns, not paintings and so much fun! Now, who wouldn't want shoes like that?!
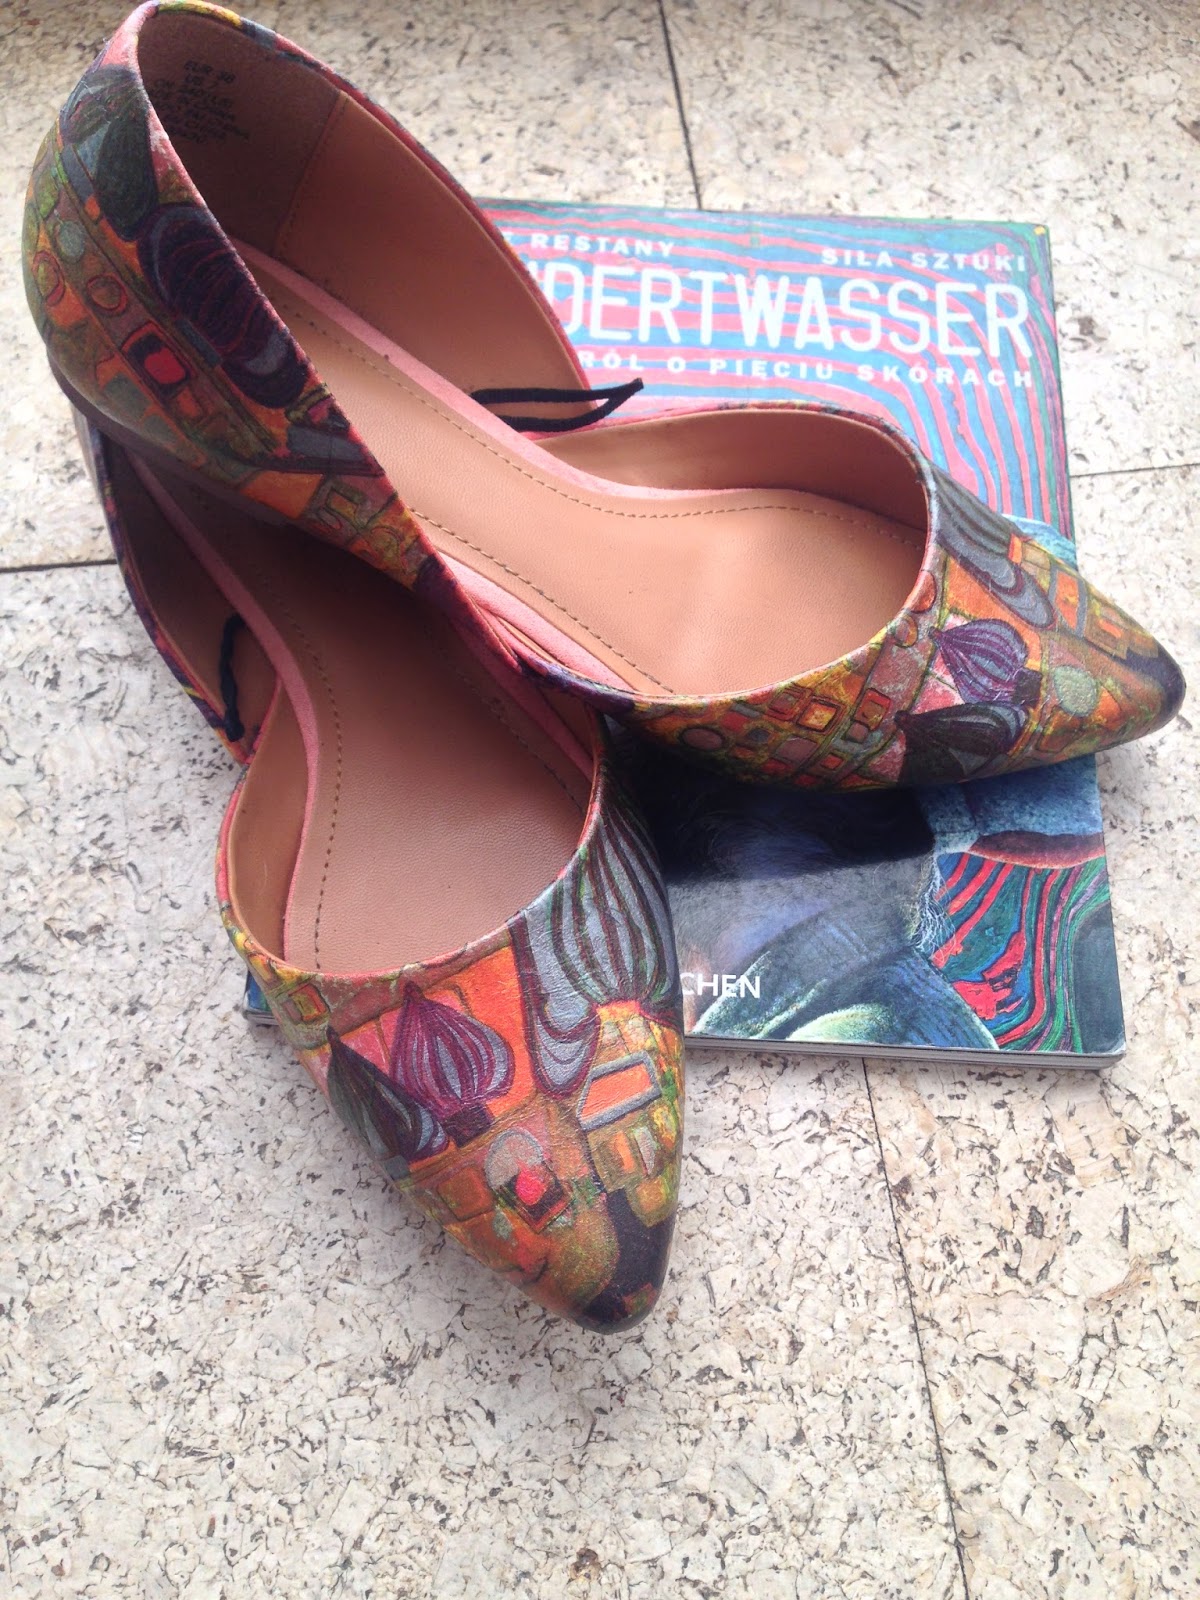
But to the point... All it took was one printed tissue and some decoupage glue/seal. In all honesty, I could probably do a better job if I wasn't in such a hurry. There are some wrinkles here and there but I doubt anyone will examine my shoes with a magnifier so it's good enough for me. Actually, I kind of love them!


As far as I know, there are many ways to decoupage shoes, can't really say which one is best, since it was my first try. I know that there are a lot of how to's all over the internet, but in the end, it's rather intuitive, isn't it?
I started by cutting the tissue roughly to the shape I needed. I would recommend leaving a good margin around in case of mistakes or adjustments.
I worked with the front and back of the shoes separately cause smaller pieces of tissue are easier to manage. To keep the tissue from moving in an unexpected way, I glued the center front (and center back) first and worked towards the sides. It makes it easier to smooth out the wrinkles and avoid trapping in the air  - if you work slowly and patiently, not like me!


I glued my tissue in intervals, allowing every section to dry before starting another. It is also important to allow every layer to dry before applying the next.
the thing I enjoyed the most: you don't have to be very exact about the edges. You can tear the off and let its merge with the shoe "organically" or file the excess of tissue once it's dry.


I'm still waiting for the perfect weather to test run them outside the house. I didn't get the waterproof seal and it's been rather rainy lately. I wouldn't want all my enthusiastic work to just wash away...


Saturday, July 2, 2016

Lavender pouches


It's been a while since my last summer in Poland and I'm delighted with all the familiar places, flavours, fragrances... It's so comforting and oddly exciting to revisit summer-type activities! But, at the same time, I'm really happy with the changes.


For example, lavender became an extremely common flower. You can find everywhere: gardens, parks, sidewalks, balconies and farmers markets. I even found a couple of lavender plantations and they are definitely going on my "to visit" list! I probably haven't mentioned it enough, but I adore lavender! The look, the smell, and versatility.


I always like to tuck some lavender pouches in between my clothes or bedsheets - apart from the fragrance, it eases the headaches, relaxes, wards of the moths and helps with insomnia. I usually pick some up, when I see them in the shop or market, but isn't it just great to make one yourself? Plus, more often than not, I have to make do with lavender essential oil or even lavender spray.


Well, I wasn't about to let the opportunity pass, especially that it's like a 10 minutes DIY, 5 - if you already have a pouch!


And let me tell you, no matter how great lavender sachets you have, it's nothing compared to the smell of freshly dried flowers!