Tuesday, June 30, 2015

Cornucopia


It’s kind of funny, that after so many years in India, there are still fruits I haven’t tried - lots of them! I just had my first bite of jackfruit and the very first encounter with fresh dates.


For me, dates were a big part of all the “African adventure” type books – crossing the dessert on camel’s back, eating nothing but dry dates, drinking nothing but water from the leather pouch – that sort of thing. But the fresh dates… well, that’s the whole other story. To make yet another literary/childhood reference, in Chronicles of Narnia, there was one particular story that came back to me after eating them. A boy, visiting Narnia of the day of its creation, planted a toffee that grew into a toffee tree, full of juicy toffee fruits – that’s how fresh dates taste like.


Juicy toffies aside, our local market is a true cornucopia these days. All the colors, textures, and smells are simply mouthwatering! And, it just so happens, it gives me a perfect excuse for baking all the delicious fruity cakes!

Apricot yogurt cake

300 g flour
1 ½ tsp baking soda
1 egg
½- ¾ cup sugar (set 2-3 spoons aside)
100 ml oil
2 tsp lemon juice
300 g thick yogurt (like Greek yogurt or dahi)
10-12 apricots – halved

Mix flour and baking soda and set aside.

Beat egg with sugar until light and fluffy. Add oil and lemon juice and whisk together.
Add yogurt and mix. Add flour and mix. Place halved apricots (cut side up) and sprinkle remaining sugar over the fruits. Bake in 160 degrees till golden brown (45-55 min). Sprinkle with powdered sugar.
It's simply to die for!


Monday, June 15, 2015

and..

...the monsoon is here!


And with every monsoon comes this unbelievably lush, well, everything. In just a couple short days, from dry and nearly dead, all the trees, bushes and flowers turn into the essence of life. 


Another thing that comes with the monsoon is mango season. And jackfruit season. And, in general, fruit season.


With four mango trees in our garden, I can’t look at this fruit anymore, but it doesn’t mean I didn’t learn a very valuable lesson in the process. Like the fact that I don’t know squat about fruit trees. Once upon a time, in Europe, things were much easier. Fruits grew on the trees until they were ripe and ready to be eaten, in India, however, it’s a different story. They still grow on trees, but apparently they need a change of scenery to ripen. Chikoos, for example, need good 7-10 days of lying around to change from stone-hard to melt in your mouth. Same with mangoes, they will only turn yellow or red (depending on the kind) after some solid home time. Left on the tree they will only blush unless they are eaten by some impatient animals.


This morning I was confronted by the whole bunch on tiny little green bananas, just sitting next to the kitchen stairs and I suddenly got very nostalgic about all the boring and uncomplicated European fruits.


With that said, I also found out that monsoon is the season for plums and peaches, apricots and cherries, and even pears, but they only grow in some very well hidden location, and definitively not in Goa.
With that said, I need some time to figure out what to do with my new fruity houseguests!

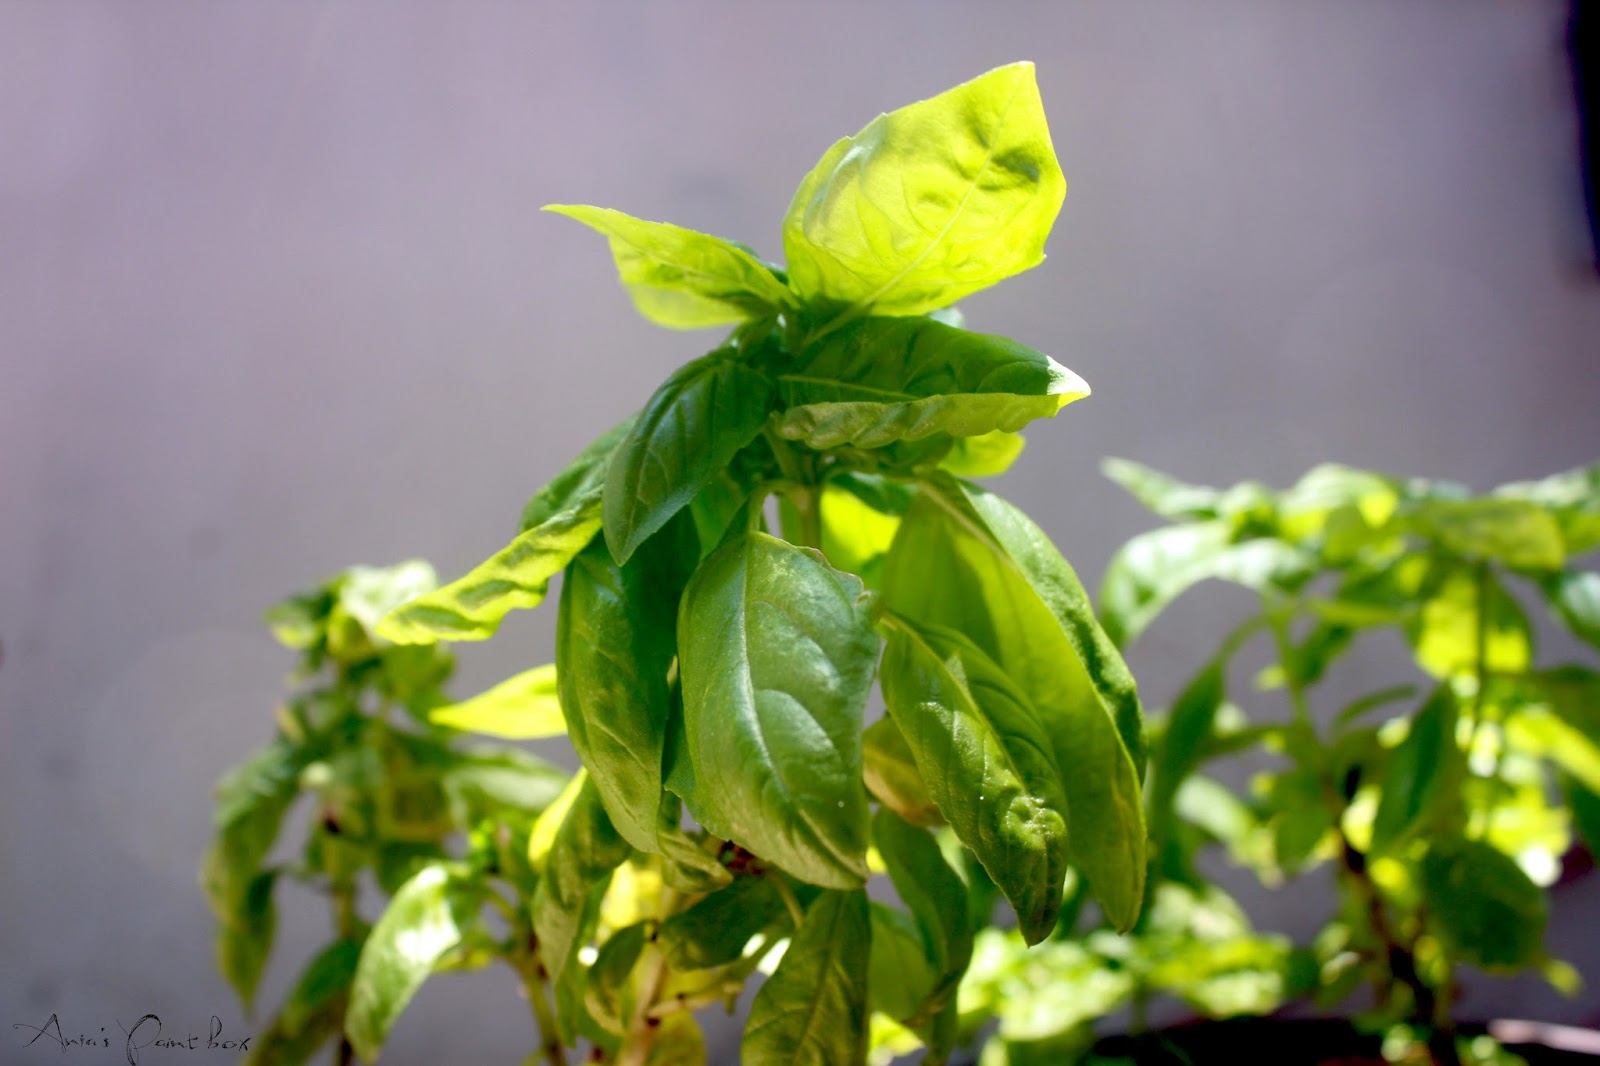
..and P.S. I decided to dig up my poor, halfdead basil and put it in pots and it worked like a magic trick!


Thursday, May 14, 2015

the break, the PIO and the OCI

While pinterest is flooding with “how to go viral” tips for bloggers, I always took comfort in the fact that nobody knows my blog exist. This way, I can take a couple of months break from writing, without thinking of all the potential readers waiting for the new post. I actually didn’t mean to take a break at all, but so much happened in past few weeks, that writing just flew right out of my mind.

Apart from some life-changing events, we made yet another trip to Mumbai, to, attention ladies and gentleman, pick my PIO card up. In all honesty, it’s been ready for quite a while, but I was really dreading these few days in the city while the weather in Goa was so perfect. Of course, in the meantime, the rules concerning PIO cards changed a couple of times, resulting, as always, in one big mess.
First, PIO cards were given lifelong validity, and the obligation of registration with FRRO after every arrival in India was lifted.

Then someone decided that merging PIO and OCI card would be a good idea. And that’s where the fun begun. Till today, every FRRO office in India (and Indian Embassies around the world) gives different information. Goa office still stamps PIO cards with a “Lifelong validity” stamp, while Mumbai insists on exchanging PIO to OCI card immediately since PIO cards have been canceled. This means yet another tedious application process, multiple copies of exactly the same documents as during PIO application. I guess, providing people with OCI cards, based solely on their PIO cards would be no fun whatsoever… Not to mention that now, from a “Person of Indian Origin”, I’ll be changing my status to “Overseas Citizen of India”- go figure!

Anyway, I just filled the online application and sent all the papers* to Mumbai, so the only thing left to do is to wait and see. On the plus side, this time I will be able to track the progress of my application online. Also, I should count myself lucky, as, according to the new rules, one has to apply for OCI card in the same office where their PIO card was issued. For me, it means a trip to Mumbai, but there are people out there living in different countries, sometimes across the globe.
While I can appreciate, that having an OCI card will, eventually, make a lot of things easier for us, the whole exchange process doesn’t seem to be very well thought out. No surprise there…

*The documents I submitted along with my application:
-copy of my passport
-copy of my first visa
-copy of my last visa + the conversion/ extension of the visa
-copy of my PIO card
-address proof (rent agreement)
-copy of my marriage certificate
-copy of my husband’s passport

-indemnity bond on 100rs paper – notarized 

Wednesday, March 18, 2015

Say (farmer's) cheese


When it comes to food, Goa is a magical place. After years of deprivation (aka my time in Delhi) it feels like grocery shopping paradise. Thanks to the large number of expats living in the area, I can get just about anything in the local store. Plus, there is something so wonderfully quaint about hand labeled pesto or homemade yogurts…
But, even with this treasure trove around the corner, I still like to have homemade food made… well, at home. Like farmer's cheese, for example.
It is extremely easy, not to mention you only need one ingredient: milk!


Fresh farmer’s cheese:
1 ½ + ½ liter of raw milk


Pour 1 ½ liter of milk into a glass jar or bowl, cover with a cloth and leave on the counter until it starts to separate. It should have curd – like consistency. You can also wait for the whey to separate completely.
It will take 1-2 days depending on the temperature of the room and freshness of the milk.
Boil remaining ½liter and pour it into curdled milk immediately. Set aside for 10-15 minutes. 


Line a sieve with a cheesecloth (I sometimes use fine mesh sieve, without the cloth) and place on top of a large pot. Pour the milk into the sieve and allow to drain. Gather the corners of the cloth and twist it to squeeze extra whey. The more you drain, the firmer the cheese gets, you can decide when it’s “done”.


 If you like more cottage cheese – like consistency, remove cheese from the cheesecloth when it’s still quite loose, add a spoon of cream and mix well.

If you want a proper farmer’s cheese, wait until it holds its shape, remove from the cloth and store in the fridge.


Sunday, March 15, 2015

quilting discovery


Once upon a time, I decided to make a quilt. What’s more, I thought it’s a great idea. I mean, how difficult can it be? I had a huge box of scraps I collected during my fashion course, I had free time on my hands and a big need for some light cover. It seemed like a perfect thing to do. Plus, since all my scraps are roughly rectangle – ish, I figured I would just stitch them together without following any pattern. I honestly thought it would be done in few days.
Well... it wasn’t. To be fair, I had all the pieces stitched fairly quickly, I even pieced together the back part of the quilt, what I didn’t have was the batting. I looked and looked and then I just packed my unfinished quilt and forgot about the whole thing. 


About a month ago, I decided to clear out the linen trunk and get rid of all the old bedsheets. And then I thought to myself: what if, instead of looking for batting, I would use old bedsheet?
Surprise, surprise, that’s exactly what I did, and I can proudly say: my first quilt is done! Sure, it’s not fluffy and warm like other quilts are, but it’s perfect for Goan weather. It has enough body to stay in place and not crumple like a simple bedsheet, but it's light enough to use even during the hottest night.

Technically speaking, it’s far from perfection, but I’m kind of in love with it. Plus it looks great in the guest room. And so, with my newly discovered passion, I decided to put the rest of my scraps to good use! I only hope this one will take me less time to complete. 


Wednesday, March 4, 2015

Cracow's obwarzanki - best "pretzels" in the world


It was morning like any other: with eyes half open, a cup of coffee in hand, I was browsing Pinterest and suddenly…  I found a picture that kept me running from the oven to my laptop and back for past few weeks. It was a recipe for, what someone claimed to be, the best pretzels ever. 


First of all, being born and raised in Cracow – the city where, to my knowledge, pretzels were invented, I have to register a complaint. English language is missing a word describing the kind of pretzel I was obsessing about recently. Sure, there is pretzel (polish: precel) and bagel (pl.: bajgiel) but we also have obwarzanek, which is sort of a culinary symbol of the city.
Traditionally, pretzel is supposed to be much lighter and crispier than obwarzanek, and instead of being round, it’s 8-shaped. Bagel and obwarzanek are both round, with the hole in the center, but while obwarzanek is braided, bagel is formed from one piece of dough. Plus, bagels are soft and chewy and obwarzanki are crispy from the outside.


Apparently, the first written documents mentioning them are dated as far as XIII century. Somewhere around XVI-XVII century, bagel was created in Cracow’s Jewish district, as a competitor to obwarzanek. Later on, the recipe traveled as far as USA, to become New York’s staple while obwarzanek was recognized by EU as a regional food specialty.
Skipping over the history lesson, I jumped at the chance to try the recipe. To say that I failed dismally would be and understatement. I produced an endless supply too chewy, too heavy and hard rings, not even close to the original fluffy obwarzanek with crispy skin.


I was just about to give up when, finally, I found this beautiful recipe and excellent video tutorial (in polish; around 8:20 min – different ways of braiding obwarzanek):


Cracow’s obwarzanki

3 tbsp dried yeast
30g sugar
250ml milk mixed with water in equal proportions
500g flour
1 egg
5g salt
30g melted butter
Poppy seeds, sesame seeds or salt for decoration
 plus wide pot, boiling water, 2 tbsp sugar and 1 tbsp baking soda

Mix sugar, yeast, milk, water and 3 tbsp of flour – leave for 15 minutes until foamy
Add remaining flour, egg, salt and butter and mix until a smooth dough is formed (about 5 minutes). The dough should be light and fluffy but not sticking to the hands – add flour or water if needed.
Leave to rise for about 45 minutes.
Divide the dough into 8 equal pieces and form into long rolls (about 30 cm). Form obwarzanki: take a roll and fold it in half, twist it together until the whole roll forms a braid, join the ends forming a circle (or refer to the video). Let them rest for few minutes.


In wide pot, boil water with sugar and/or baking soda. Dip obwarzanki in boiling water for about 45 seconds on each side – place on a baking sheet. Sprinkle with seeds or salt and bake in 200 degrees for about 15 min – until golden brown. Best eaten the same day, still warm, but can be kept overnight.


Saturday, February 28, 2015

Day on the beach


Before moving, I had a vision of life in Goa involving daily trips to the beach and staying unbelievably fit and thin. As it turns out, we are not the fit beach types after all and we spend more time exploring various Goan eateries than swimming. Running Airbnb gave us the push we needed to dig up our swimming suits and get our asses out of the house and into the ocean.


For years, Agonda was our little holiday (or weekend) paradise, but with its growing fame came the growing crowd and so we began the search for a place a little closer to home. Recently, we started exploring the north and spending more and more time around Morjim- Arambol stretch. I can’t say it’s a big discovery as Arambol is quite a touristy place. We did, however, manage to find few corners which aren’t too well known. Now, when we have few empty-ish places to choose from, I simply can’t wait for the next trip!


Monday, February 16, 2015

Cinnamon buns with apple twist


Is there anything better than a cup of aromatic coffee and a cinnamon bun straight from the oven? Why, yes there is! I discovered it quite accidentally by buying way too many apples. Every time I go to the kitchen, they are sitting there, staring at me, waiting to be eaten. I have no other choice but work them in whatever it is I’m making. So far it has proven to be quite a delicious experiment. After making some apple cupcakes with cinnamon frosting (which disappeared so quickly, I didn’t have a chance to take even one picture) I figured, what the hell… why not try it in a bun.


Turns out, it is exactly what cinnamon buns were missing. Don’t get me wrong, I love them in pure, apple-less for as well, but I can never make them at home. Out of all the yeast based buns, these are the ones that dry the fastest… One day you have soft cinnamon goodness and the next – unappetizing stone. Apples magically solve the problem! Plus, apples and cinnamon… it’s a no-brainer! 


Buns (makes about 12):
1 cup warm milk
3 tsp dry active yeast
50g sugar
100ml oil (or melted butter)
1 egg
500 g flour

Cinnamon –apple filling:
8 tbsp brown sugar
2-3 tsp cinnamon (or more – no hard rule here)
1 large or 2 small apples – grated
Handful of raisins
50g melted butter

Glaze:
½ cup milk
½ cup powdered sugar
Vanilla flavoring (optional)

Mix yeast, 1 tsp sugar and warm milk and wait for it to foam (5-10 minutes). Mix egg, remaining sugar and oil and add to the yeast mixture. Add flour and mix until blended (I did it by hand and worked just as well). Let it rise for about an hour.
Filling: in small bowl mix cinnamon and sugar, add grated apple and raisins. Pour the melted butter and mix well.
Glaze: mix sugar and milk until well blended. If mixture is too thick, add a splash of water

Roll out the dough into a rectangle (less than 1 cm thick) and spread the apple- cinnamon filling evenly. Starting from the longer edge, roll the dough tightly. Slice with sharp knife into 1 ½ inch slices. If they lost shape, you can “help” them a little, before placing on a baking sheet.
Let them rise for about ½ hour, then bake for 15-20 min in 180 degrees. Glaze the rolls while still warm.


Wednesday, February 11, 2015

cream puffs on thursday


Last year I locked myself in the kitchen to produce Fat Thursday’s classic: donuts. This year, however, I really wanted sth. more weather appropriate... Deep-frying even the most delicious pastries is the last thing I want to do in 30 degree weather. 

And so… I made the cream puffs. I simply love how cute and elegant they look. They always remind me of Marie Antoinette, though that’s probably Coppola’s fault.
The best thing about puffs: they really are a super easy to make. Pretty quick too, if you don’t count the cooling time. In fact, I have no idea why I don’t make them more often?
One important thing to remember: they do have the power to make even the most ordinary day feel special!


Puff shells:

½ cup water (120ml)
60g butter
½ cup flour
2 eggs

Bring water and butter to boil – it’s best to use teflon pot. Add flour and mix energetically for few minutes. Be careful not to burn it.
After the mass cools down, mix in the eggs until smooth. Using pastry bag (or a spoon) pipe the dough onto baking sheet.
Note – puffs will “puff up” in the oven
Note 2 – you can use this recipe for regular round puffs, éclairs, profiteroles, etc.
Bake 20-30 minutes (until golden brown) in 200 degrees.
When the shells are cool, cut them in half and fill with whipped cream, butter cream etc. You can add fruits, drizzle them with chocolate or cover in powdered sugar.
Note 3 – you can simply pipe the frosting into the shell without cutting it.


Whipped pudding butter cream:

1 cup of thick vanilla pudding
100g butter
200 g whipping cream
2 tbsp sugar

In large bowl whip the cream and set aside. Cream the butter with sugar, add pudding and mix until well combined and fluffy. Fold the mixture into the whipped cream – refrigerate for 20 minutes.