
This is a short story about the shoes. It started with the wedding...
Way back, in the beginning of march, we went to one of those epic Indian weddings - several days, functions, venues and, of course, outfits. It was a bit of a challenge, seeing as most of our "wedding clothes" were still in the storage, but we did pull it off, somehow! I even had my ah-mazing red dress moment, which I took no pictures of - no idea why.

Anyway, we had it under control, with one exception: I had no shoes for one of the dresses. With no time for proper shoe shopping, i just ran to the nearest H&M and bought one pair of their trusty ballet flats in a lovely salmon color. Only, after the night of dancing on the lawn, they were everything but salmon. I cleaned them up the best I could, but they still had weird black stains all over.

Throwing our perfectly good shoes after wearing them once is, to me, all sorts of wrong, even if they did cost close to nothing. I packed them up, brought them home and they were waiting for better days ever since.
And it seems like their time has come!

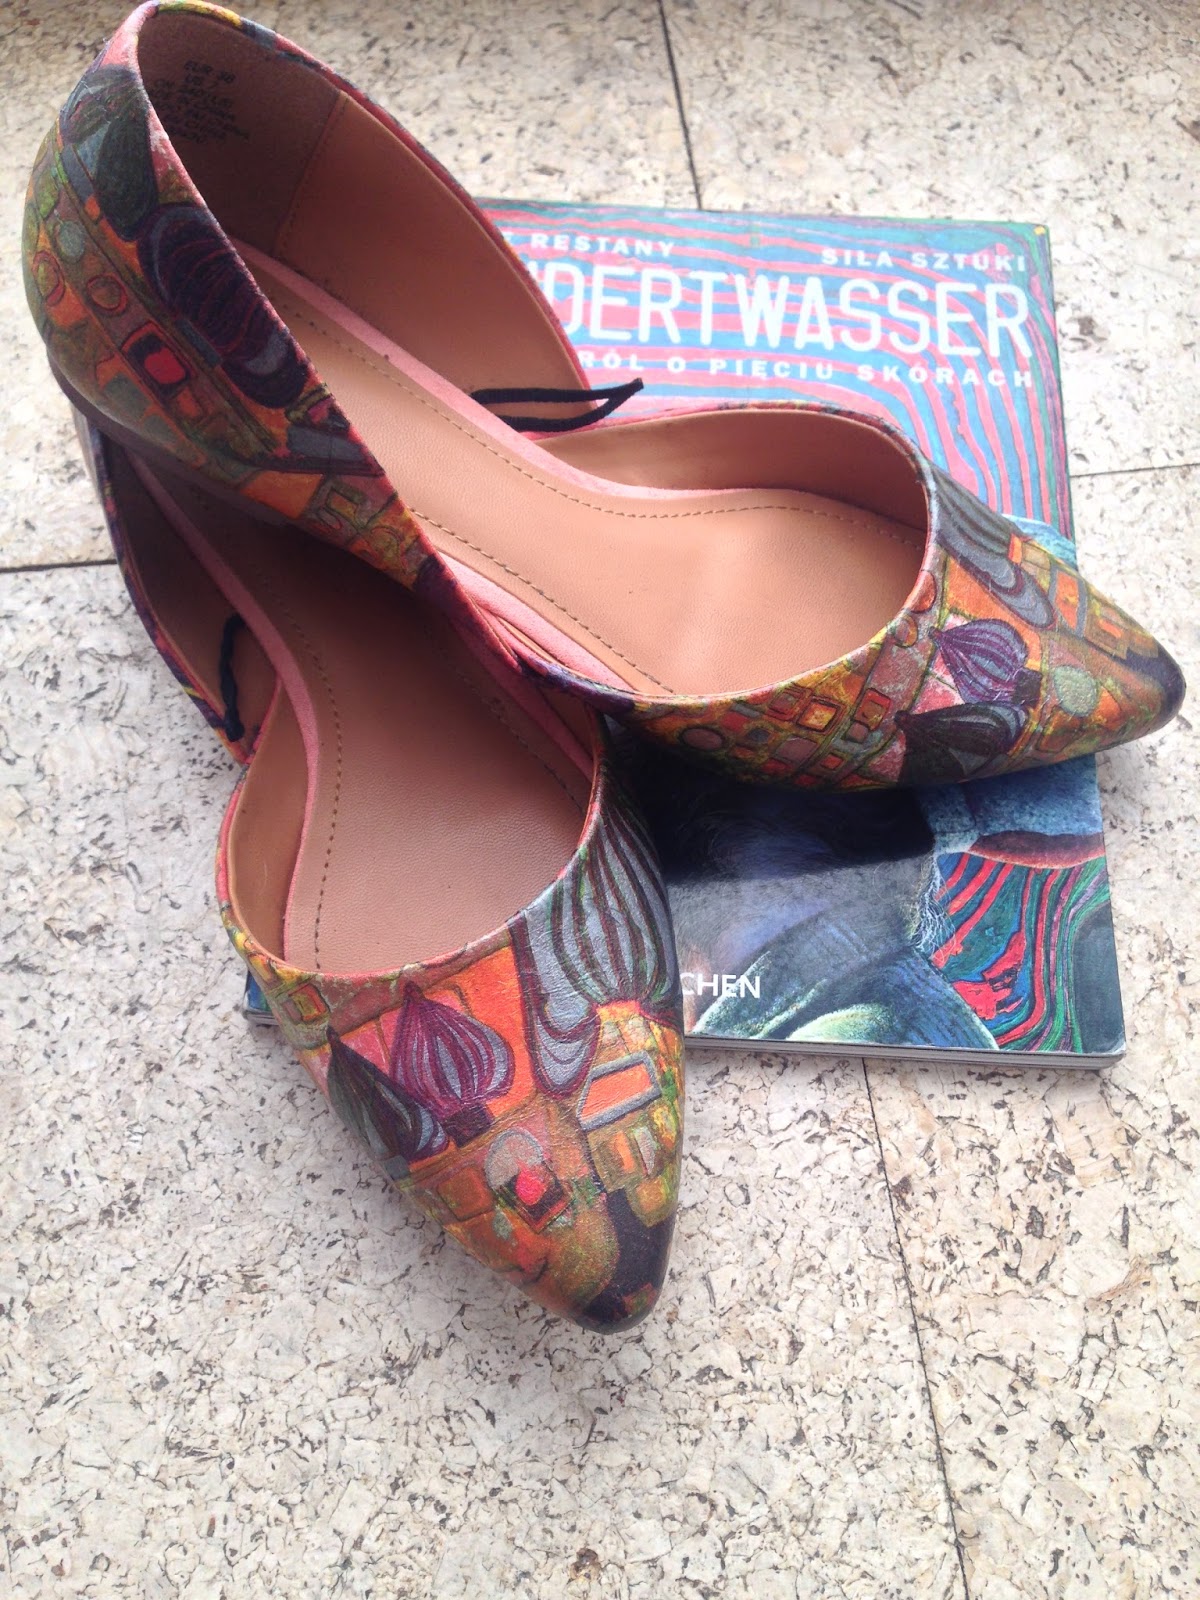
I think I mentioned my fascination with decoupage. Well... I always wanted to do some shoe makeover but never had a proper victim to run my experiments on. And there they were - two lovely salmon victims, ready to be remade! Even more, I just found a tissue with Hundertwasser print - the only one in the shop- almost screaming : use me! use me!
I always thought that Hundertwasser's works were so perfectly decorative, almost like patterns, not paintings and so much fun! Now, who wouldn't want shoes like that?!
But to the point... All it took was one printed tissue and some decoupage glue/seal. In all honesty, I could probably do a better job if I wasn't in such a hurry. There are some wrinkles here and there but I doubt anyone will examine my shoes with a magnifier so it's good enough for me. Actually, I kind of love them!

As far as I know, there are many ways to decoupage shoes, can't really say which one is best, since it was my first try. I know that there are a lot of how to's all over the internet, but in the end, it's rather intuitive, isn't it?
I started by cutting the tissue roughly to the shape I needed. I would recommend leaving a good margin around in case of mistakes or adjustments.
I worked with the front and back of the shoes separately cause smaller pieces of tissue are easier to manage. To keep the tissue from moving in an unexpected way, I glued the center front (and center back) first and worked towards the sides. It makes it easier to smooth out the wrinkles and avoid trapping in the air - if you work slowly and patiently, not like me!
I glued my tissue in intervals, allowing every section to dry before starting another. It is also important to allow every layer to dry before applying the next.
the thing I enjoyed the most: you don't have to be very exact about the edges. You can tear the off and let its merge with the shoe "organically" or file the excess of tissue once it's dry.

I'm still waiting for the perfect weather to test run them outside the house. I didn't get the waterproof seal and it's been rather rainy lately. I wouldn't want all my enthusiastic work to just wash away...


